This recipe of whole wheat bread is super easy even for novice bakers and gives you fresh and super light homemade whole wheat bread.
I have been meaning to try baking bread at home since ages but never really got around to it so far. But once I did, it was so good.
You may also like: air fryer banana bread, easy homemade no yeast bread, wholewheat naan.
These sourdough discard granola bars taste great too.
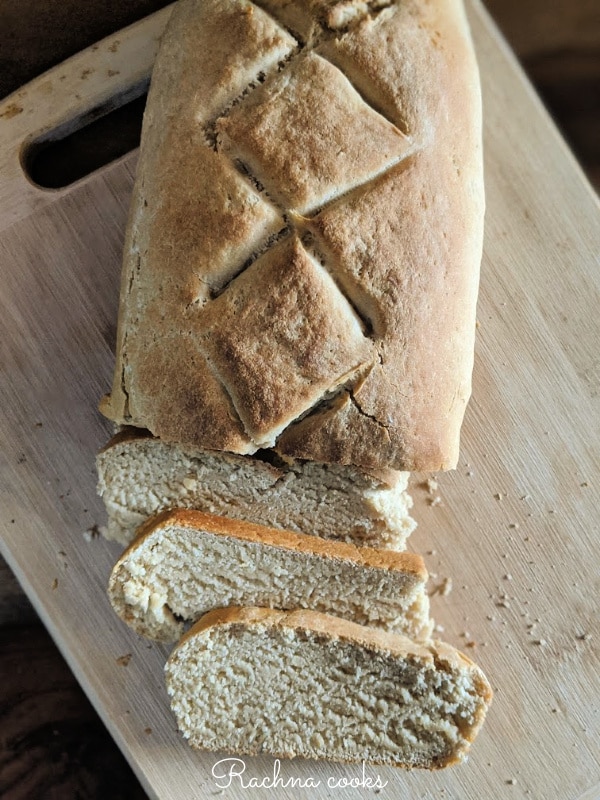
I have done many trials and put even the smallest of tips so that if you have never baked before like me, you can still get it perfect.
Step-by-step Recipe:
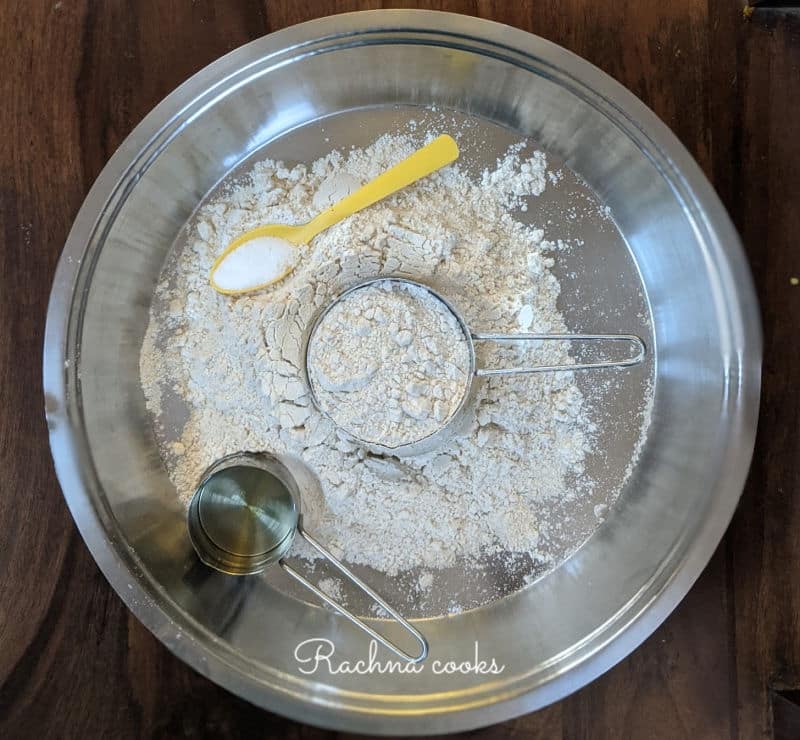
Mix the dry ingredients of wholewheat flour, salt and oil well in a bowl till it forms a sand like mixture.
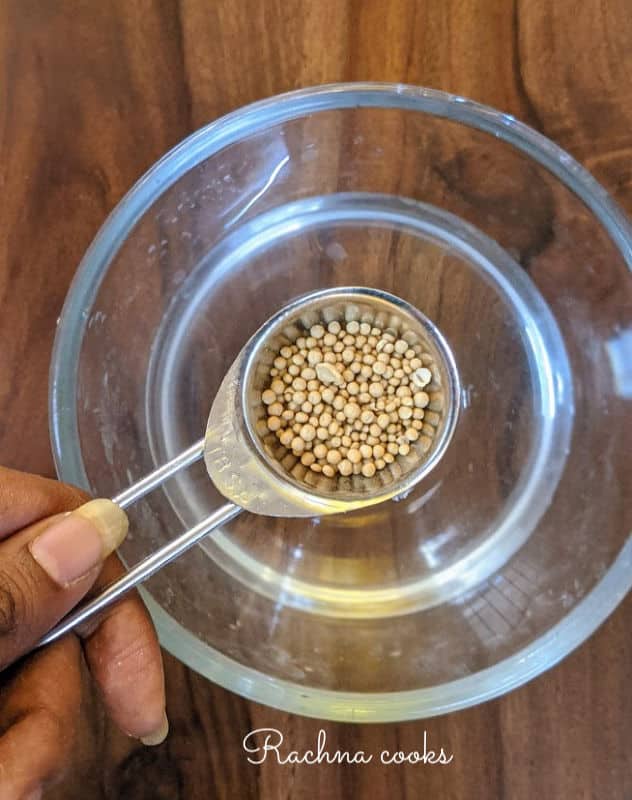
Add sugar to warm water (vegan recipe) or milk and mix well. Now add 1 tbsp. dry yeast to it and mix well.
Keep aside for 10 minutes for yeast to be activated.
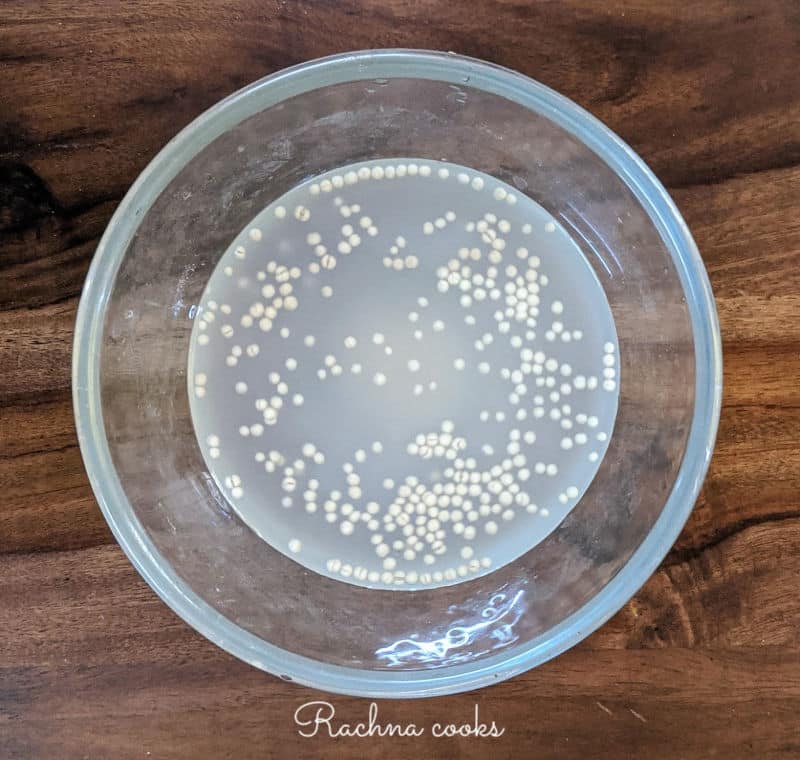
Now add the activated yeast mix to the flour, salt and oil mix.
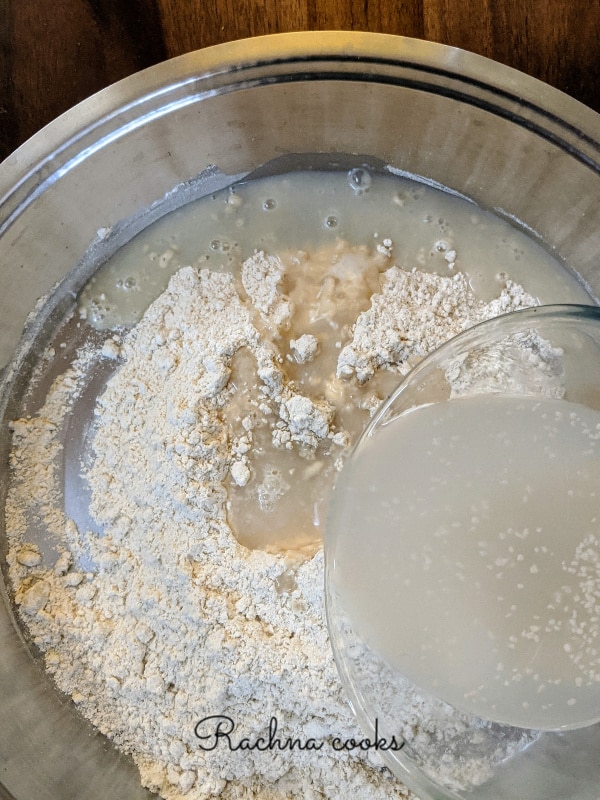
Knead well. The dough will be sticky.
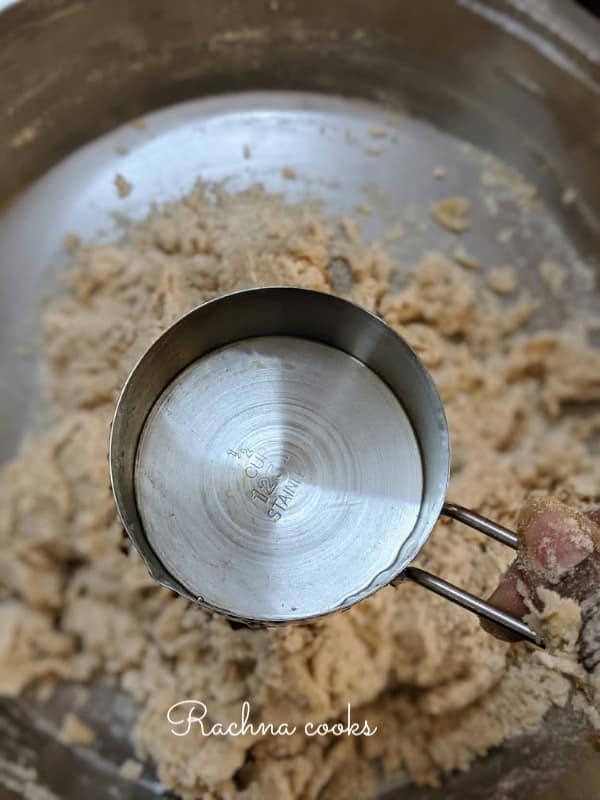
Add about ¼ to ½ cup of water and knead for about 10 minutes till the dough becomes soft and lighter in colour.
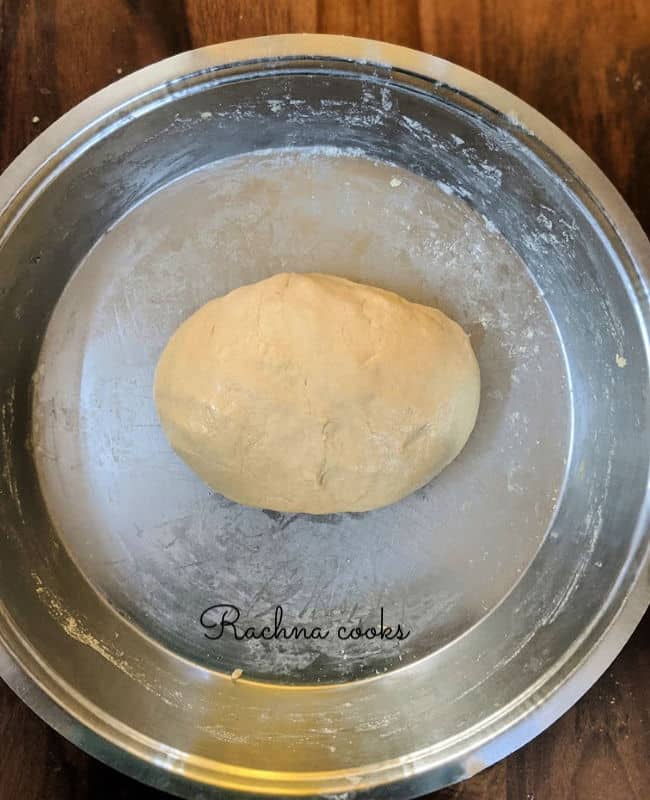
Now keep the dough covered with a damp cheese cloth or covered in a bowl for 2 hours. After 2 hours, your dough would have doubled in size.
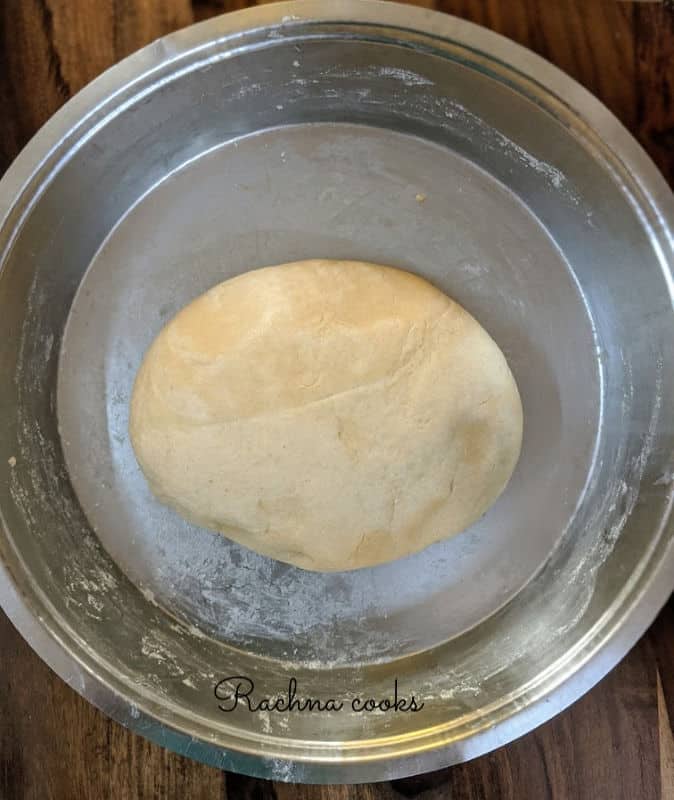
Knead again for about 2 minutes and form a cylinder. Put the cylindrical dough in the pan where you plan to bake the bread.
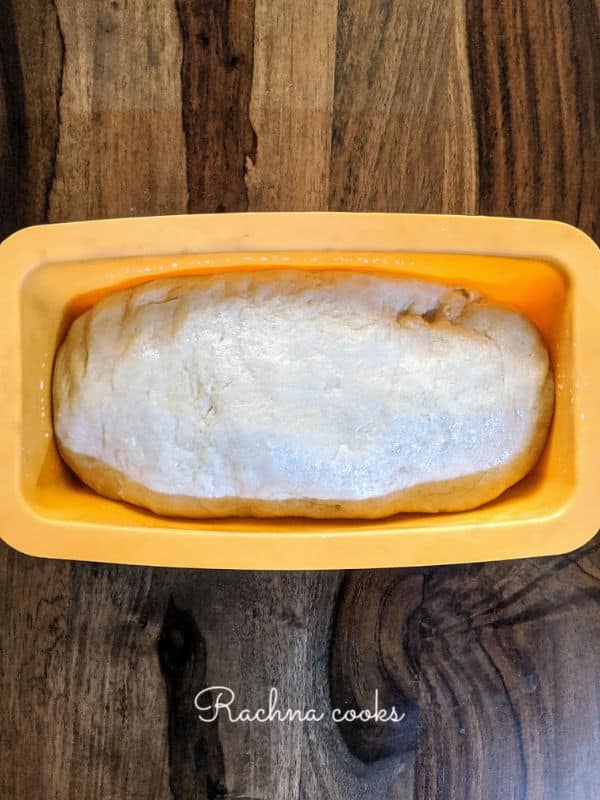
Let it rise for 30 minutes. Brush with a little oil and make crosses on top.
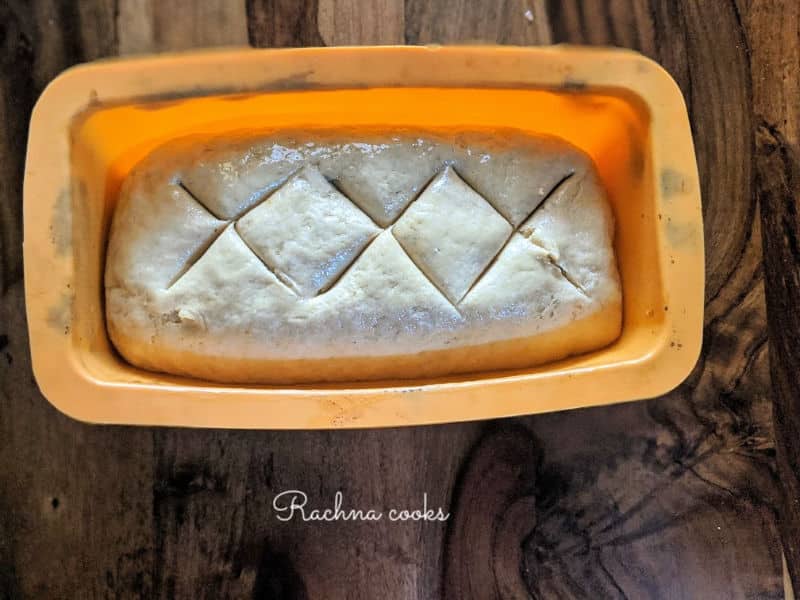
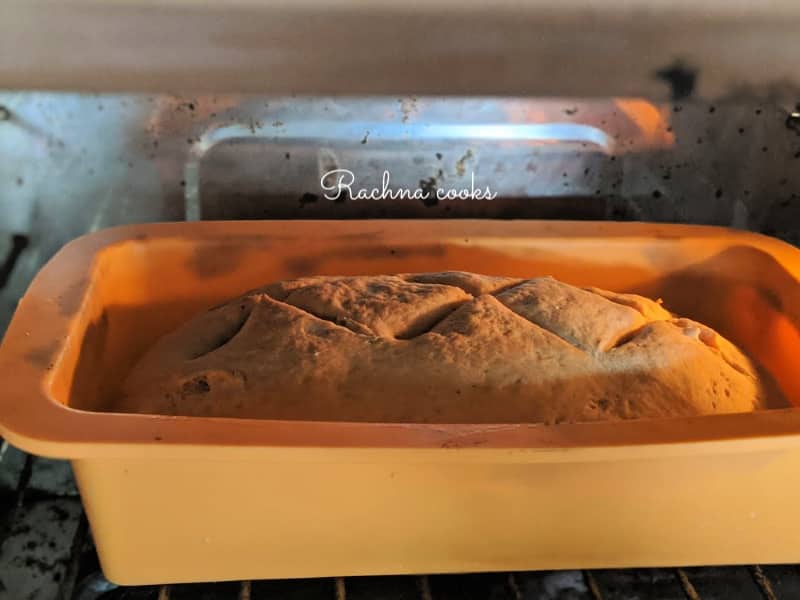
Preheat your oven to 160 C or 320 F and bake the bread for about 20 minutes at this temperature.
Now raise the temperature to 180 C or 350 F and bake further for 15 minutes.
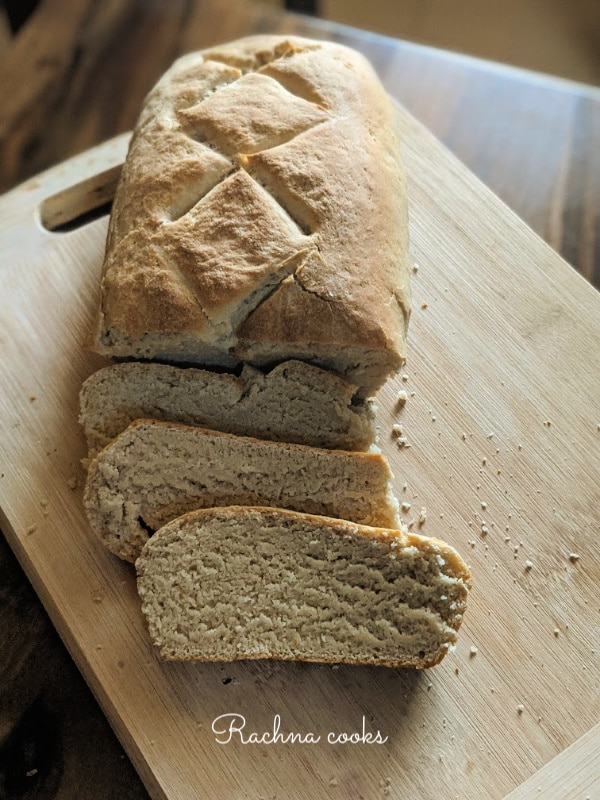
Take out the golden log and let it rest on a wire rack for about 10 minutes.
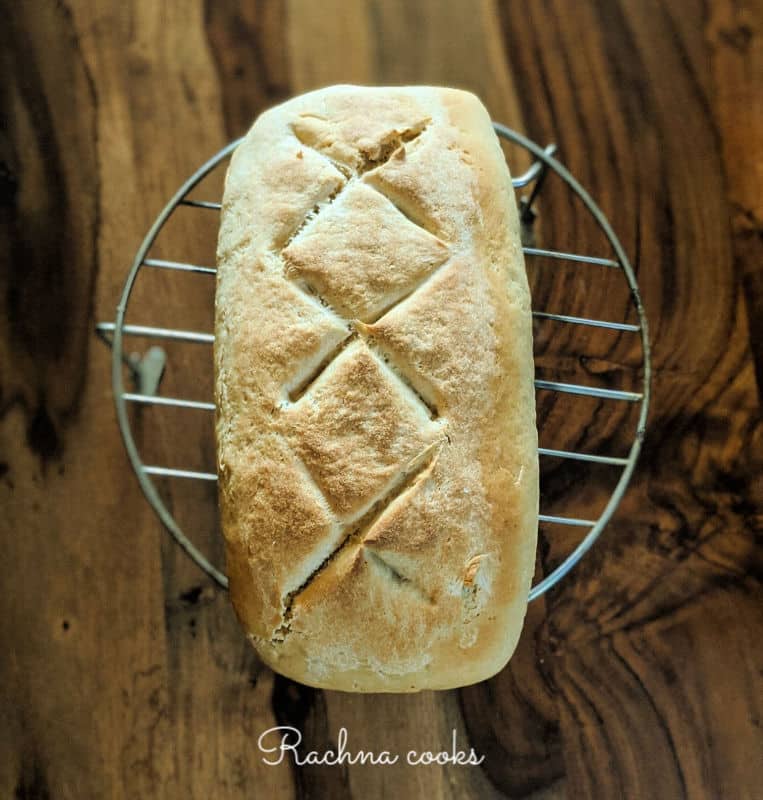
Slice the bread when cool.
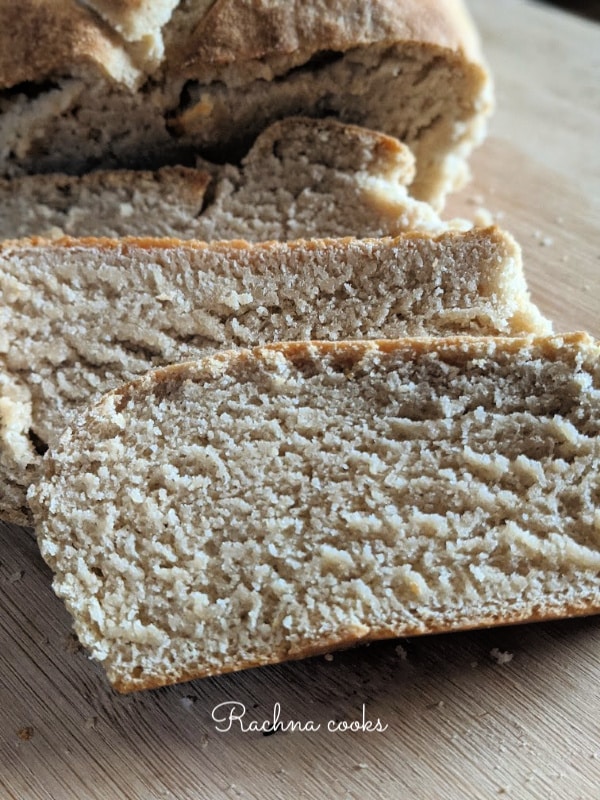
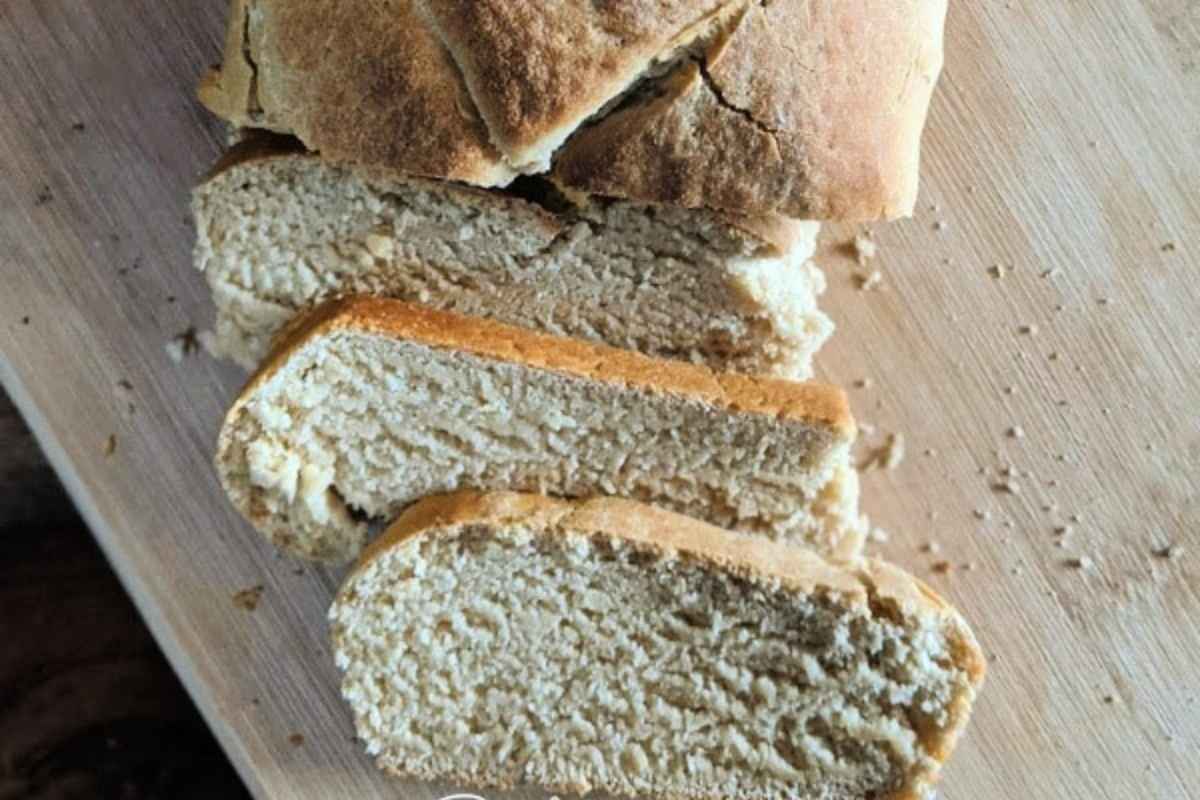
Your delicious homemade whole wheat bread is now ready to eat.
You can serve it fresh or toasted. This caramelized Vidalia onion dip goes very well with toasted bread.
Pro Tips:
Your homemade bread tastes best when fresh. But you can refrigerate it and eat for 2-3 days. It makes wonderful toast too.
Make sure that you knead well the first time for 10 minutes to allow the yeast to act well upon the gluten.
Ensure that you use only warm water and not hot water when you add yeast. Hot water will kill the yeast. I take 1 cup water and microwave for about 45 seconds.
Brushing with oil gives a shiny appearance to the crust.
Check the baking time depending upon your oven. Cooking at lower temperature ensures that the bread is well cooked inside and not just browned outside.
Your house will smell lovely after all the baking.
This bread tastes so much better than the bread you buy from outside.
You could add sunflower seeds or sesame seeds on the top of the loaf before baking.
I hope you do try this easy wholewheat bread recipe at home. It is really simple if you follow the steps correctly.
📖 Recipe Card
Do you want to save this recipe?
Enter your email below & we’ll send it straight to your inbox. Plus you’ll get more great recipes and tips from us each week!
Best Homemade Whole Wheat Bread (Step-by-step recipe)
Equipment
- Oven
Ingredients
Dry ingredients
- 3 cups whole wheat flour or 350 gm.
- 1 tsp. salt
- 2 tbsp. vegetable oil
Wet ingredients
- 1 tbsp. dry yeast
- 1 cup warm water or milk
- 1.5 tbsp. sugar
- 1 tsp. oil to brush the bread
Instructions
- Mix the dry ingredients of wholewheat flour, salt and oil well in a bowl till it forms a sand like mixture.
- Add sugar to warm water (vegan recipor milk and mix well. Now add 1 tbsp. dry yeast to it and mix well. Keep aside for 10 minutes for yeast to be activated.
- Now add the activated yeast mix to the flour, salt and oil mix.
- Knead well. The dough will be sticky.
- Add about ¼ to ½ cup of water and knead for about 10 minutes till the dough becomes soft and lighter in colour.
- Now keep the dough covered with a damp cheese cloth or covered in a bowl for 2 hours.
- After 2 hours, your dough would have doubled in size.
- Knead again for about 2 minutes and form a cylinder. Put the cylindrical dough in the pan where you plan to bake the bread.
- Let it rise for 30 minutes. Brush with a little oil and make crosses on top.
- Preheat your oven to 160 C or 320 F and bake the bread for about 20 minutes at this temperature. Now raise the temperature to 180 C or 350 F and bake further for 15 minutes.
- Take out the golden log and let it rest on a wire rack for about 10 minutes.
- Slice the bread when cool.
- Your delicious homemade wholewheat bread is now ready to eat.
Notes
2. Make sure that you knead well the first time for 10 minutes to allow the yeast to act well upon the gluten.
3. Ensure that you use only warm water and not hot water when you add yeast. Hot water will kill the yeast. I take 1 cup water and microwave for about 45 seconds.
4. Brushing with oil gives a shiny appearance to the crust.
5. Check the baking time depending upon your oven. Cooking at lower temperature ensures that the bread is well cooked inside and not just browned outside.
6. Your house will smell lovely after all the baking.
7. This bread tastes so much better than the bread you buy from outside.
8. You could add sunflower seeds or sesame seeds on the top of the loaf before baking.
Nutrition
If you like this home baked bread recipe then I request you to give it a * star rating either on the recipe card or in the comments. Thank you.
You may also try this gluten free zucchini bread.




Kala Ravi says
This isva great recipe Rachna! I make bread with a mix of whole wheat and refined flour so this is a recipe I need to try. The result is so satisfying, isn't it, makes you keep wanting to make more.
Rachna says
So true, Kala. Now I want to try out so many more breads.
Obsessivemom says
Not in my wildest dreams had I thought I would be tempted to try to bake bread. You almost make me believe this is doable. What's worse (or better) I have yeast at home. Only, I don't have a baking tin so that's a bit of a bummer. What if I bake it in a cake tin? Would that be very weird?
Rachna says
Oh of course, you can use a cake tin, even a flat Borosil glass oven usable dish. Your slices will be more rectangular and who cares, right?
Damyanti says
Looks good! Would like to try it next for sure.
Shilpa Gupte says
Hey, hubby has been coaxing me to make bread but I have been putting it off for a while now. Now with your recipe, I am inspired to make it soon.
Thank you, Rachna! The recipe is easy to follow and prepare <3
Natasha says
Thanks for the recipe. Since I've been mostly off wheat, we tried a gluten free recipe. We as in the DH, as he is the baker at home. The recipe failed. But in the past he has made many variants with ragi atta/oats atta and whole wheat flour and little bit of refined flour. Those all come out super delicious.
Today he did bake a ragi-wholewhat bread which came out really well. Added lots of seeds to it too.
So far I haven't stepped into the bread making arena, totally because of a fiasco many moons back. Who knows I might now. 🙂
Beth Sachs says
I love making homemade bread. This recipe is fantastic and the smell in the house as it's baking is amazing!
Rachna says
Thank you, Beth. Absolutely love the smell of baking bread.
Cathleen says
I can never resist a good bread recipe. Your step by step instructions were very helpful. Thank you so much for this recipe!! 🙂
Rachna says
Thanks Cathleen. Glad that you liked the recipe.
Tawnie Kroll says
This recipe was so easy to follow and my bread turned out PERFECT!! So happy I found this recipe. Thank you!
Rachna says
So glad to help, Tawnie.
Jenn says
I love making bread at home, and thanks to your tips, this bread came out amazingly! I love the healthier spin, too!
Rachna says
Thank you, Jenn. Glad that the recipe worked out for you.
Kara says
This turned out great. Thanks for the detailed step-by-step instructions and great recipe.
Rachna says
Thanks Kara
Daniela Mendoza says
Amazing!!!
I’ve never made bread before, but this recipe is awesome! I made mine in the Instant Pot and it turned out great!
Rachna says
Thank you so much Daniela. So glad it turned out good for you. 🙂