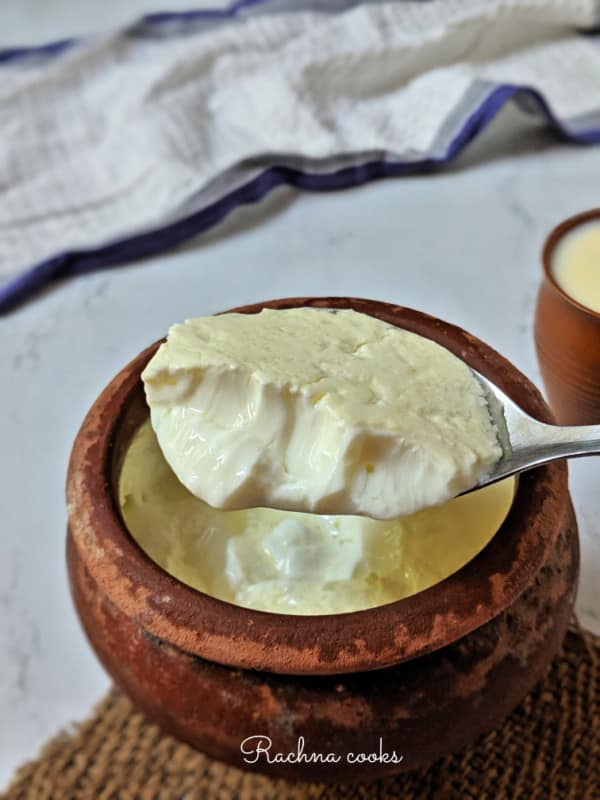
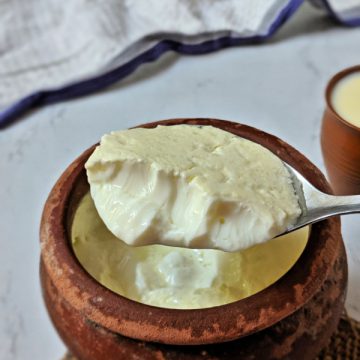
This is an easy method of making homemade thick yogurt or Indian curd at home using milk and culture.
While there are times when I buy curd or yogurt from store, there are days when I make this at home.
Those of us in India have grown up with this tradition. My mum regularly made curd at home.
Typically, it is mixing curd or yogurt culture with some warm milk and leaving it in a warm place to let the gut-healthy bacteria do their thing.
You may also like: How to Make Butter and Ghee at Home
Curd or dahi is made with dahi culture and warm milk.
It may seem like a super easy process but it requires a bit of trial and error and understanding of the method.
Also, if you get the habit of setting your curd at night, you will end up with thick set and sweet curd by morning. I will share how you can do that.
Here is how to make thick curd at home with my tips:
Ingredients:
1 litre or 34 oz. whole milk (I use cow's milk)
1 tbsp. curd culture
Method to Make Thick Curd at Home:
Heat the milk till it boils. Some people simmer it on low heat to thicken it further.
Let the milk cool down so that your milk is lukewarm. My test is to insert a clean finger.
You should be able to bear the temperature of the milk while it feeling warm.
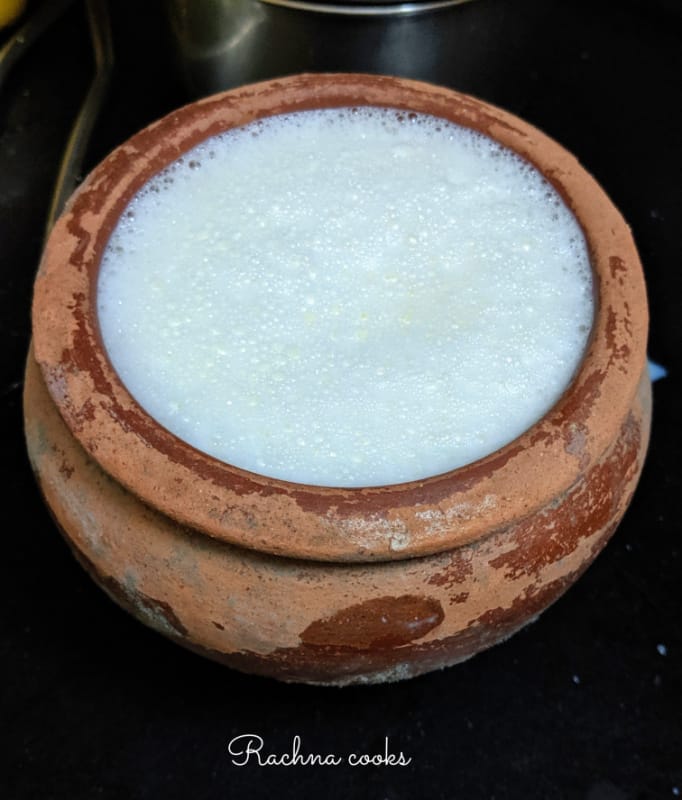
Now froth the milk. I do this by transferring milk from one pan to another for 4-5 times till the milk is frothy.
Then I add the culture to the milk and toss it once or twice more till assimilated.
Leave for the curd to set in a warm place for 5-8 hours depending upon how hot or cold the climate is.
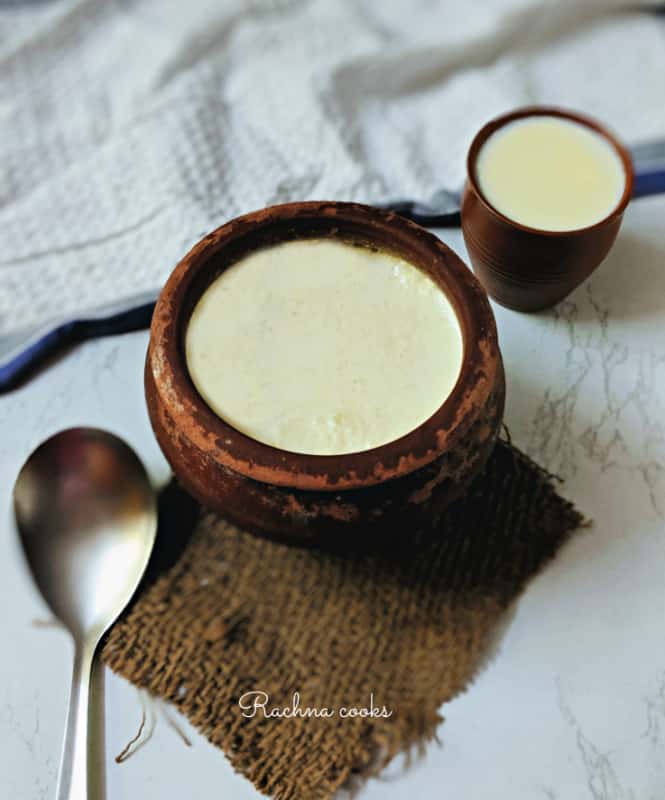
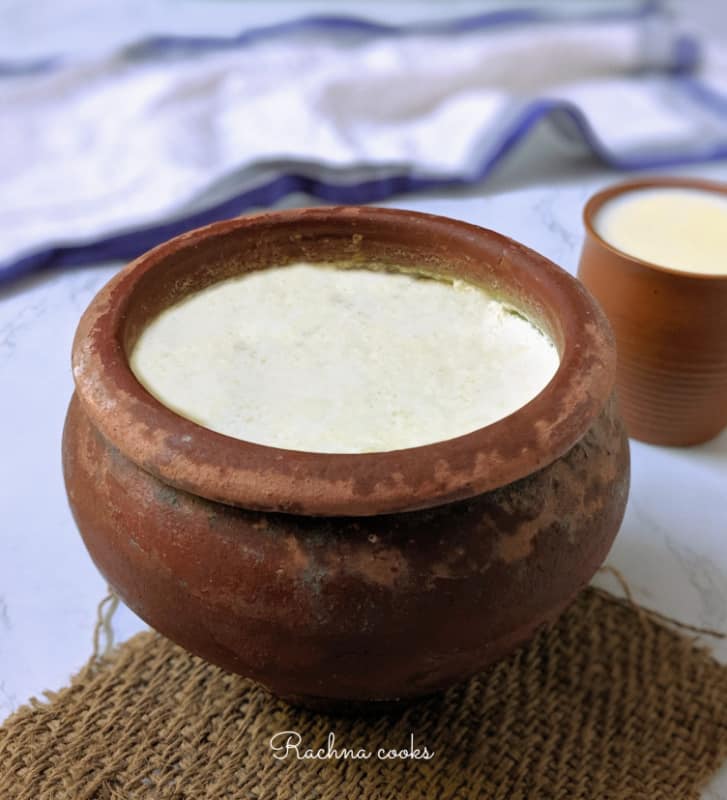
You will get thick curd to consume. Refrigerate as soon as the curd sets.
Or your curd will end up getting sour.
Pro Tips:
- Use whole milk for a thicker set curd. As I mentioned, you could further simmer the milk for 10 minutes to make sure that it is thick when set. Make sure you don't burn the milk.
- Use good culture and bring it to room temperature before adding to the milk. You can use anywhere between 1 tsp. to 1 tbsp. culture for 1 litre or 34 oz. of milk.
- Do not use sour curd culture or your curd will turn out sour.
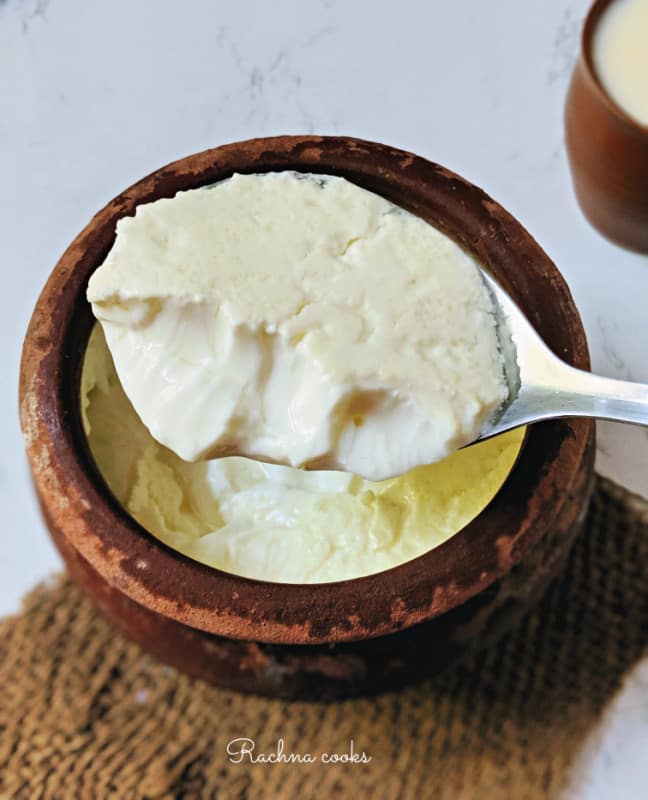
- Frothing the milk makes it set thick. Also setting it in an earthen vessel gives a nice thick set curd. You could use a metal container too.
- If you live in a very cold place then you may take more hours to get set curd. Leave your milk vessel in a slightly warm place like an oven with the light on to expedite the process. You may also put it in a casserole for faster setting.
- Some people add a broken dry red chilli in the milk while setting to make thick curd. I haven't tried this trick and no it will not make your curd spicy.
- The consistency of your curd will depend upon the kind of milk you use. I use packaged milk. Those using milk straight from the dairy may find a different consistency.
- If you have never set curd before, try this method (maybe 2-3 times to get the hang of exact process) and you will have delicious thick curd at home.
Here's the recipe card:
How to Make Thick Curd or Yoghurt at Home
Ingredients
- 1 litre whole milk I use cow's milk
- 1 tbsp. curd culture
Do you want to save this recipe?
Enter your email below & we'll send it straight to your inbox. Plus you'll get more great recipes and tips from us each week!
Instructions
- Heat the milk till it boils. Some people simmer it on low heat to thicken it further.
- Now let the milk cool down so that your milk is lukewarm. My test is to insert a clean finger. You should be able to bear the temperature of the milk while it feeling warm.
- Now froth the milk. I do this by transferring milk from one pan to another for 4-5 times till the milk is frothy. Then I add the culture to the milk and toss it once or twice more till assimilated.
- Now, leave for the curd to set in a warm place for 5-8 hours depending upon how how or cold the climate is.
- You will get thick curd to consume. Refrigerate as soon as the curd sets.
Notes
- Use whole milk for a thicker set curd. As I mentioned, you could further simmer the milk for 10 minutes to make sure that it is thick when set. Make sure you don't burn the milk.
- Use good culture and bring it to room temperature before adding to the milk. You can use anywhere between 1 tsp. to 1 tbsp. culture for 1 litre or 34 oz. of milk.
- Do not use sour curd culture or your curd will turn out sour.
- Frothing the milk makes it set thick. Also setting it in an earthen vessel gives a nice thick set curd. You could use a metal container too.
- If you live in a very cold place then you may take more hours to get set curd. Leave your milk vessel in a slightly wam place like an oven with the light on to expedite the process. You may also put it in a casserole for faster setting.
- Some people add a broken dry red chilli in the milk while setting to make thick curd. I haven't tried this trick and no it will not make your curd spicy.
- The consistency of your curd will depend upon the kind of milk you use. I use packaged milk. Those using milk straight from the dairy may find a different consistency.
- If you have never set curd before, try this method (maybe 2-3 times to get the hang of exact process) and you will have delicious thick curd at home.
Nutrition
Do let me know if you tried this method. What was your experience?
In case you found the post helpful and tried this method, I request you to give it a star * rating on the recipe card or in the comments. Thanks.

Jayanthi Manikandan says
I use whole green chillies too - that also works very well...good to also home curd culture to set it even better
Obsessivemom says
Your curd looks absolutely delicious. I used to be able to do it pretty easily but these days it's just not happening and I gave up in frustration. Will try again, maybe the curd gods will oblige :-).
Sonal Deo says
Thank you for sharing 🙂 Will definitely try it out since both me and my daughter are curd lovers 😀
soullessgothic says
I'm really enjoying the design and layout
of your blog. It's a very easy on the eyes which makes
it much more pleasant for me to come here and visit more often.
Did you hire out a developer to create your theme?
Outstanding work!
Roshan Radhakrishnan says
I honestly have not made curd ever before... saving this recipe to try out.
Rachna says
Do try it out sometime, doc.
Rajlakshmi says
Back home we only have curd that are set in these earthen pots. It's very popular there. The creamy layer on the top was so delicious and pure. The curd you have set looks amazing. Reminds me of mishti doi 🙂
Rachna says
Thanks Raj! You can do it too. Super easy.
Shailaja Vishwanath says
The curd looks SO tempting and Gy is a big fan of this. My mom actually uses the dry red chilly trick and it comes out very well too,especially during the colder Bangalore months.
Must find a clean matka to make this. My aunt used to buy tiny matkas just for the kids to have set dahi 'shots' when we visited her. Ah, you brough back some memories 😀
Rachna says
I love it and everyone at home loves it. Now I am no longer allowed to buy outside curd. 🙂 I am sure Gy will just love it. It is not tough. Do give it a try.
Soumya says
Ah I wish I had read this post before. Last month I decided to make my own curd at home and went through quite a lot of hell before getting it right! It did not set at all the first two times as I was using store bought curd as the starter. Many websites and youtube videos later I made my own starter using milk and green chillies with stalks. That came out well. Using that I made a litre of curd that set thick and beautiful!
As harrowing as the process was, it taught me a lot, not just about curd making about life as well. I'll do a post about it someday.
Since then I have been making fresh curd at home and it is so delicious when compared to the store bought ones.
Rachna says
Sorry that you had to go through that. But so happy that you got it right eventually. You are a fighter, Soumya. Eventually you make things fall in place. And you are right, homemade curd is just so good.